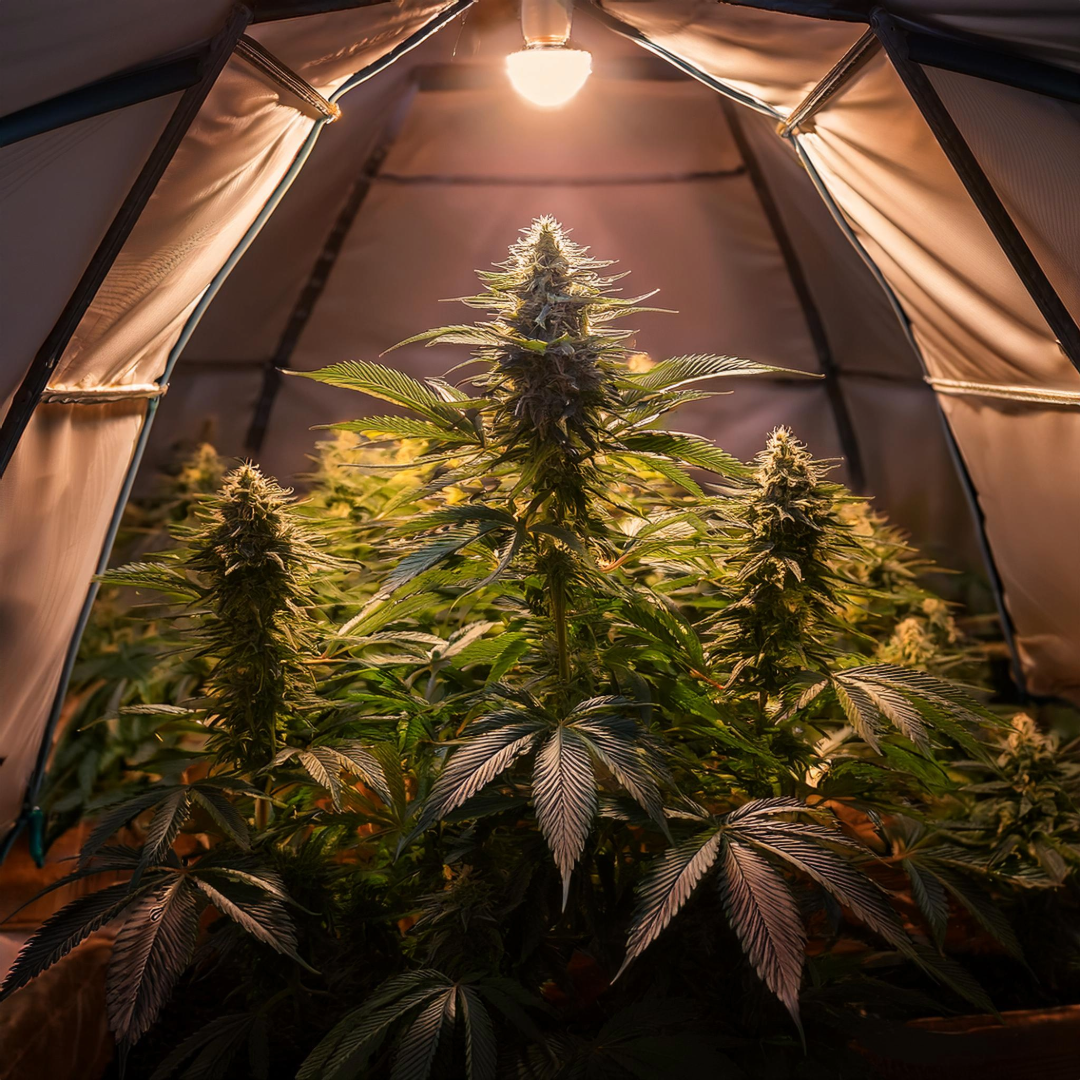
Photoperiod cannabis strains are the classic variants of cannabis that initiate their flowering phase based on the hours of light. Unlike autoflowering strains, they require specific light cycles to flower. This post will give you a comprehensive guide on how to successfully grow photoperiod cannabis.
What are photoperiod cannabis strains?
Photoperiod cannabis differs from autoflowering strains in that the flowering phase is only triggered when the hours of light change. In nature, this happens when the days get shorter. For indoor growers, this is done by switching the light cycle to 12 hours of light and 12 hours of darkness.
Benefits of photoperiod cannabis:
-
Greater control: Growers have more influence over the timing of the flowering phase.
-
Higher yields: Photoperiod plants often produce larger harvests.
-
Variety: A wide selection of strains with different effects and flavors.
Required Equipment
To successfully grow photoperiod cannabis, you will need:
-
Seeds: High quality photoperiod seeds from trusted seed banks.
-
Growing substrate: High-quality soil or hydroponic substrates.
-
Lighting: Powerful LED, HPS or MH lamps.
-
Timers: For precise control of the light cycle.
-
Pots: Ideally 15-20 litres to support larger plants.
-
Nutrients: Cannabis-specific fertilizers for the growth and flowering phase.
-
Ventilation: Fans and activated carbon filters for ventilation and odor control.
-
Measuring devices: pH and EC meters to optimize nutrient uptake.
step-by-step instructions
1. Germination of seeds
-
Use damp paper towels to germinate the seeds. Store them in a warm, dark place (20-25 °C).
-
As soon as the seeds show roots, plant them in small pots with potting soil.
2. The growth phase
-
Light cycle: Set a light cycle of 18 hours light and 6 hours dark.
-
Watering: Keep the soil evenly moist without giving too much water.
-
Nutrients: Start with a mild nutrient solution and gradually increase the concentration.
-
Training methods: Use techniques such as LST (low-stress training) or topping to optimize plant growth.
3. Initiate the flowering phase
-
Change the light cycle to 12 hours light and 12 hours dark to start the flowering phase.
-
Nutrients: Use flowering fertilizers with a higher content of phosphorus and potassium.
-
Humidity: Reduce humidity to about 40-50% to prevent mold growth.
4. Care during the flowering phase
-
Monitor bud growth and adjust nutrient levels accordingly.
-
Remove yellow leaves and ensure good air circulation.
-
Use a magnifying glass to monitor the trichomes. Harvest when they turn milky or amber.
5. Harvesting and follow-up
-
Cut the plants and hang them upside down in a dark, well-ventilated room.
-
After about 7-14 days, you can trim the flowers and store them in airtight jars to intensify the aromas.
Tips for Success
-
Patience: Give the plants enough time to reach their full potential.
-
Constant conditions: Keep temperature and humidity in a stable range (20-28 °C).
-
Training: Use techniques like ScrOG (Screen of Green) to increase yields.
Conclusion
Photoperiod cannabis offers growers the opportunity to produce high-quality flowers with maximum control over growth. With proper planning and care, you can grow healthy plants and achieve an impressive harvest. Good luck with your growing project!
